
Spill incidents in industrial or commercial settings can quickly escalate into environmental hazards and compliance breaches if not managed effectively. Whether an oil leak in a mechanical workshop or a chemical spill in a lab, a fast response is critical.
Under Australian WHS laws and state-based EPA regulations, businesses must take “reasonably practicable” steps to contain hazardous spills. This guide covers everything you need to know about selecting the right kit, the correct PPE, and the standard response procedure to keep your workplace compliant.
Key Points
Legal Compliance: Under Australian WHS laws, any business storing hazardous chemicals or fuels must have a spill response plan and appropriate containment equipment.
Match the Kit to the Risk: Using the wrong kit can be dangerous. You must identify whether your risk is Hydrocarbons (White), Chemicals (Yellow), or General Fluids (Grey) before purchasing.
How to Choose the Right Spill Kit
Using the wrong absorbent on a spill can be dangerous.
For example, using a general-purpose absorbent on a chemical spill may be ineffective or even cause a hazardous reaction.
Spill kits in Australia generally fall into three colour-coded categories. You must match the kit to your specific risk:
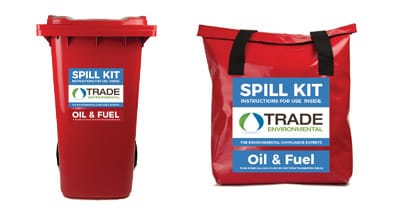
General Purpose (Grey Absorbents)
- Best For: Coolants, agricultural fluids, mild solvents, beverages, and water-based liquids.
- Absorbency: Hydrophilic (absorbs water).
- Typical Users: Food processing plants, wineries, schools, and general warehouses.
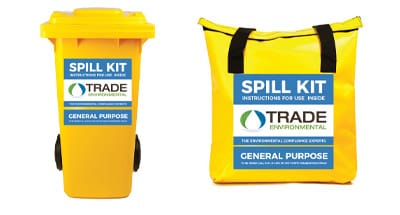
Oil & Fuel (White Absorbents)
- Best For: Hydrocarbons (diesel, petrol, hydraulic fluid, motor oil).
- Absorbency: Hydrophobic (repels water). This allows you to absorb oil spills off the surface of water (e.g., in a wet wash bay, marina, or in the rain) without wasting capacity on water.
- Typical Users: Mechanical workshops, fuel stations, transport yards, and marine environments.
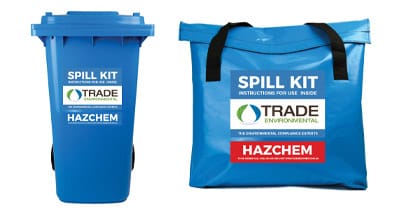
Hazchem / Chemical (Yellow Absorbents)
- Best For: Aggressive acids, alkalis, solvents, and unknown chemicals.
- Absorbency: Chemically inert absorbents that will not react with the fluid.
- Typical Users: Laboratories, hospitals, and chemical storage facilities.
Biohazard / Clinical (Yellow or White Bags)
- Best For: Bodily fluids (blood, urine, vomit) and clinical waste. These kits often contain disinfectants and specific tools for handling sharps or broken glass safely.
- Typical Users: Hospitals, medical centres, schools, shopping centres, and public transport providers.
Compliance Tip: Never assess a chemical spill based on pH alone. Always consult the Safety Data Sheet (SDS) for the spilled substance before choosing your response method.
Unsure What Your Site Requires?
Speak with our team before committing to equipment or installation. We’ll help confirm the right containment, washdown, or stormwater solution for your site.
- Leased, temporary or fixed site conditions
- Trade waste or EPA compliance questions
- Need confirmation before purchasing or installing
No obligation • Compliance-focused advice tailored to your site
Essential PPE (Personal Protective Equipment)
Before opening a spill kit, you must ensure you are protected. It is the employer’s responsibility to provide correct PPE under the Occupational Safety and Health Act.
Standard PPE included in most spill kits includes:
- Nitrile Gloves: Essential for protecting skin from burns or absorption of hazardous liquids.
- Safety Goggles: To protect eyes from splash-back or fumes.
For high-risk spills (Hazchem), you may also need to add:
- Respiratory Protection: Half-face or full-face respirators to prevent inhalation of toxic vapours.
- Protective Coveralls: To prevent skin contact with corrosive substances.
- Rubber Boots: If the spill is large enough, you may need to step into the containment area.
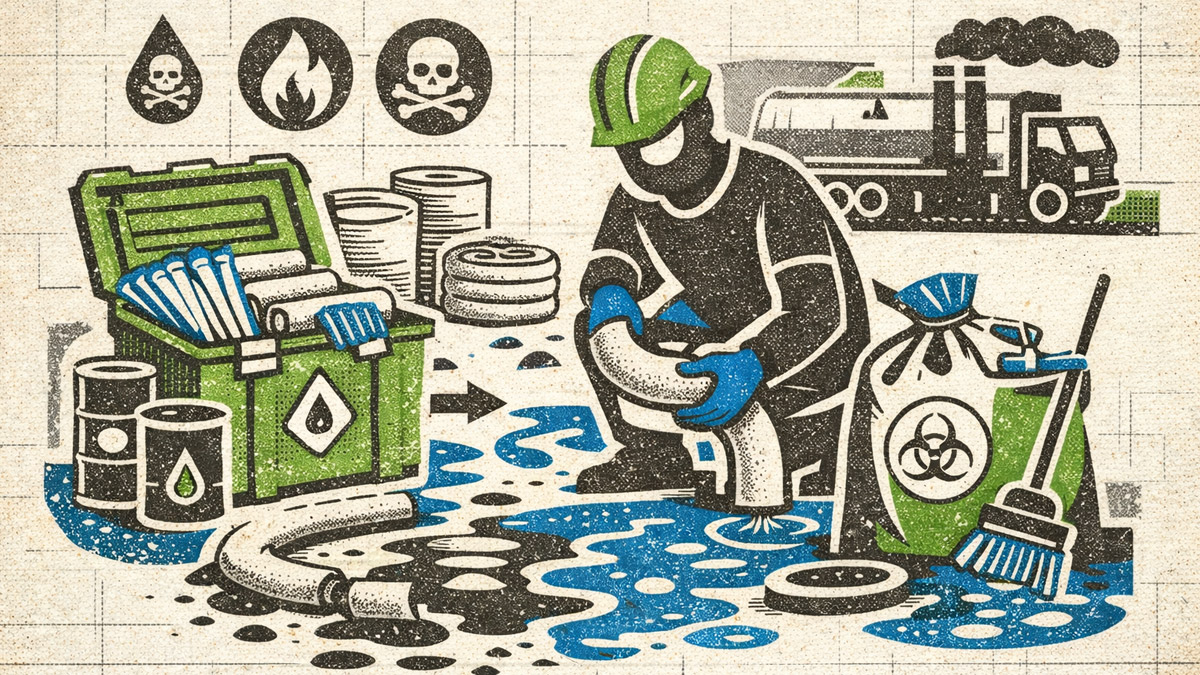
The 7-Step Spill Response Procedure
In the event of a spill, panic is your worst enemy. Following this standard 7-step procedure ensures safety and WHS compliance.
Step 1: Assess the Risk
Identify the liquid immediately.
- Is it flammable? (Fuel/Solvents) -> Remove ignition sources.
- Is it toxic? (Chemicals) -> Check the SDS.
- Is it flowing toward a drain? -> This is your priority.
- Transport Note: If you are on the road (e.g., a truck leak), pull over safely away from stormwater drains if possible. Deploy your spill kit immediately to block contaminants entering gutters.
Step 2: Equip PPE
Do not touch the spill until you have put on gloves, goggles, and the protective suit found in your kit.
Step 3: Stop the Source
If it is safe to do so, stop the flow.
- Reposition a fallen drum.
- Close the valve.
- Plug the puncture with a wooden wedge or repair putty.
Step 4: Contain the Spill (The “Golden Rule”)
Your primary goal is to prevent the spill from spreading, especially into stormwater drains.
- Use Absorbent Socks (Booms) from your kit to create a perimeter.
- Priority: Place socks around the nearest drain inlet first, then encircle the spill.
- Tip: Overlap the ends of the socks to prevent seepage.
Step 5: Absorb the Liquid
Once the perimeter is secure, neutralise or absorb the spill.
- Place Absorbent Pads directly onto the liquid.
- For larger spills, pour Floor Sweep (granular absorbent) over the area.
- Work from the outside in to shrink the spill area.
Step 6: Dispose of Waste
Collect the saturated absorbents.
- Place them into the Disposal Bags provided in the kit.
- Compliance Warning: The bag must be disposed of according to the liquid it contains. e.g. Oil-soaked pads are classified as “Regulated Waste” and cannot be thrown in with general rubbish.
- Contact your waste contractor.
Step 7: Report & Restock
Restock: A half-empty kit is not compliant. Order a Spill Kit Refill immediately to ensure you are ready for the next incident.
Report: Log the incident in your Site Spill Register. If the spill entered a waterway, contact the EPA immediately.
Maintenance & FAQ
How often should I inspect my Spill Kits?
To remain compliant, you should inspect your kits regularly:
Sealed Kits: Check annually to ensure the tamper seal is intact.
Open Kits: Check monthly. Ensure no pads have been “borrowed” for small leaks and not replaced.
Audit: Check the expiration dates on repair putty and the condition of PPE components (e.g., rubber degrading over time).
Is a Spill Kit a legal requirement?
In Australia, yes. Under WHS regulations and EPA laws, if you store hazardous chemicals, you must have a way to contain a release. Fines for allowing contaminants to enter the stormwater system can exceed $15,000 for individuals and much higher for corporations.
What size Spill Kit do I need?
A common rule of thumb is to have enough absorbent capacity to handle the failure of your largest single container. For example, if you store chemicals in 200L drums, a 20L spill kit is insufficient. You would need a 240L Spill Kit nearby to manage a catastrophic failure until emergency services arrive.
Do Spill Kits expire?
Most absorbent pads and granular floor sweeps do not have an expiration date if kept dry. However, the PPE inside (rubber gloves, respirators) and repair putties can degrade over time. We recommend a full audit of your kit contents every 12 months.
Where should I store my Spill Kit?
Kits should be located in “high-risk” zones—within 5-10 metres of where liquids are stored or transferred (e.g., near the fuel bowser or chemical cabinet). They must be highly visible, clearly signed, and never locked away where staff cannot access them in an emergency.
Summary
Spill kits are an essential insurance policy for your business. They protect your staff from injury, your environment from pollution, and your business from heavy fines.
By selecting the correct kit for your liquid type, training your staff in the 7-step response procedure, and maintaining your stock levels, you ensure that when an accident happens, it can be dealt with the right way.
Need help assessing your site’s risk? Trade Enviro offers site assessments to help you choose the compliant solution. Contact us today for expert advice.